Beginner’s Guide to Raising Chickens for Eggs
If you’ve ever dreamed of being more self-sufficient, raising chickens for eggs is one of the most rewarding and practical ways to start your homesteading journey. Whether you’re looking to enjoy fresh, homegrown eggs daily or reduce your grocery bills, chickens are a great addition to any small homestead. And the best part? It’s not as expensive or difficult as you might think, even if you’re starting on a small budget.
In this beginner’s guide, I’ll walk you through everything you need to know about raising chickens for eggs, from choosing the right breeds to caring for your flock. By the end, you’ll be ready to embark on your chicken-raising adventure and move one step closer to achieving self-sufficiency.

Step 1: Plan Your Chicken Setup
Before you bring chickens home, it’s important to plan your setup. Chickens need shelter, food, and space to roam, and setting up these essentials in advance will make the process much easier.
Choosing a Location: Start by choosing a suitable spot on your property for your chicken coop and run. Ideally, this should be a dry, well-drained area with some shade. Chickens can handle cold weather, but they need protection from extreme heat and cold drafts.
If you’re working with a small budget, consider repurposing materials you already have to build the coop. Pallets, scrap wood, or old fencing can often be used to create a simple, functional chicken shelter. You’ll need a space that is at least 3 square feet per bird in the coop and 10 square feet per bird in the run. This ensures they have enough room to stay healthy and active.
Building a Chicken Coop: Your coop should include:
- A safe, enclosed space: Protect your chickens from predators like raccoons, foxes, or even neighborhood dogs. Make sure the coop is sturdy, with secure doors and windows. Consider adding chicken wire or hardware cloth to keep predators out.
- Nesting boxes: Chickens need a private space to lay eggs. Provide one nesting box for every 3-4 hens, lined with straw or wood shavings to make them comfortable.
- Roosting bars: Chickens like to sleep off the ground, so include sturdy roosting bars where they can perch at night. Aim for one roosting bar per chicken, with enough height for them to hop up easily.
Setting Up a Run: If you can, provide a secure outdoor run where your chickens can roam freely during the day. Chickens love to scratch the ground, look for bugs, and get sunlight, which keeps them happy and healthy. If you don’t have a large yard, you can also consider a chicken tractor—a movable coop that lets you rotate your chickens through different parts of your yard to reduce wear on the land.

Step 2: Choose the Right Chicken Breeds
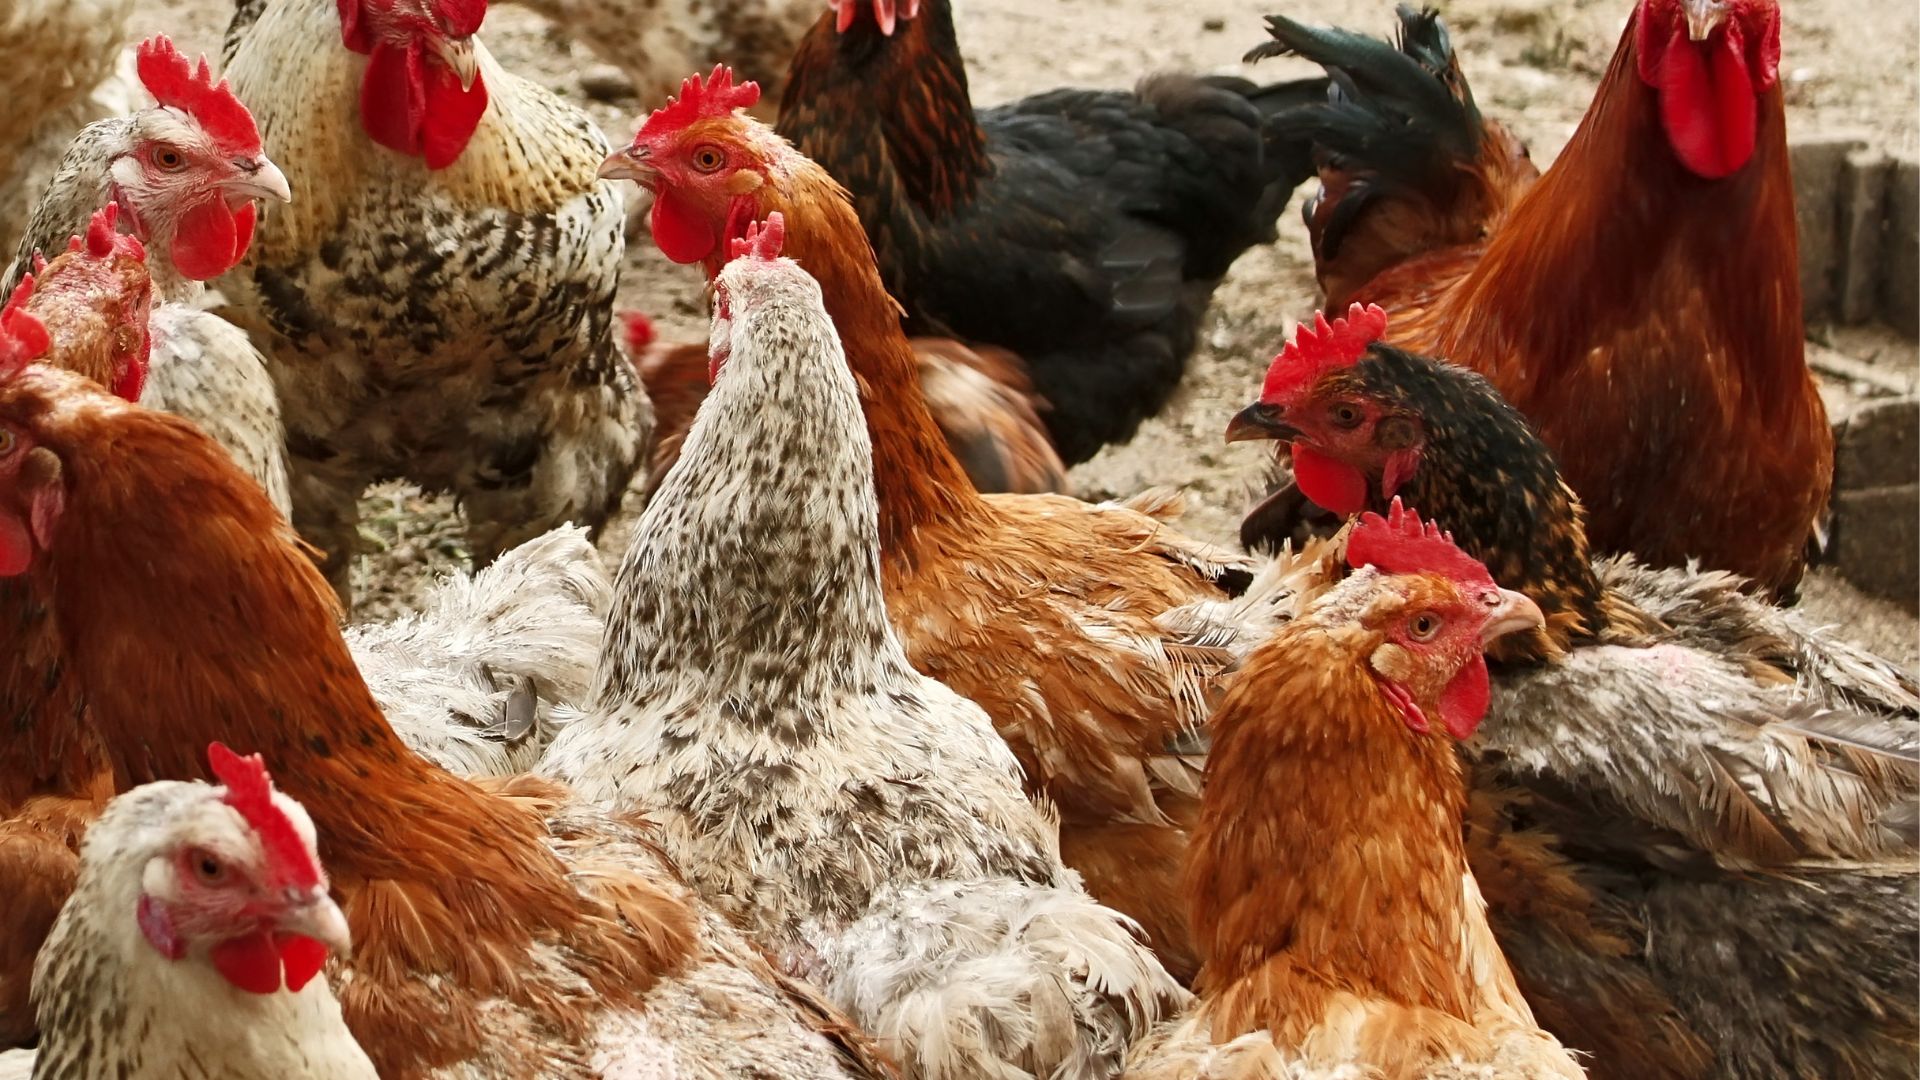
When it comes to raising chickens for eggs, selecting the right breed is key. While there are many breeds to choose from, some are better suited for egg production, while others are more ornamental or for meat. If you’re aiming for a reliable egg supply, you’ll want to focus on egg-laying breeds that are hardy and adaptable to your climate.
Best Egg-Laying Breeds for Beginners:
- Rhode Island Red: Known for their hardiness and consistent egg production, Rhode Island Reds are an excellent choice for beginners. They typically lay brown eggs and can produce up to 250 eggs per year.
- Leghorn: Leghorns are prolific layers, known for their ability to produce a large number of white eggs. They’re active, hardy, and require minimal attention, making them great for new chicken owners.
- Plymouth Rock: These chickens are friendly and easy to handle, making them a great choice for families or small homesteads. They lay medium-sized brown eggs and are known for their consistent production.
- Australorp: Australorps are calm, friendly birds that are great for beginners. They are excellent egg layers, often producing up to 300 eggs a year. They’re hardy in various climates and are known for their adaptability.
When selecting your chickens, keep in mind the space available in your yard, as well as your local climate. Some breeds handle cold weather better, while others are more suited to warm temperatures.

Step 3: Purchase and Care for Your Chickens
Once you’ve selected your breed, it’s time to bring your chickens home. You can purchase chicks, pullets (young hens), or adult hens from local hatcheries, farm stores, or even from other homesteaders.
Bringing Your Chickens Home: If you’re starting with chicks, you’ll need to keep them warm and safe for the first few weeks until they can regulate their body temperature. A brooder is an enclosed area where chicks can live while they grow. You can easily build a brooder using a cardboard box, a heat lamp, and bedding like straw or wood shavings. Make sure the brooder stays around 95°F during the first week, gradually lowering the temperature by 5°F each week until they’re ready to move into the coop.
Introducing Chickens to the Coop: Once your chickens are old enough to live outside, it’s time to move them into the coop. If you’ve built a run, allow them to explore this new space while making sure they have easy access to food and water. Chickens may need some time to adjust to their new environment, so be patient.
Daily Care for Chickens: Caring for chickens on a daily basis isn’t difficult, but it’s important to maintain a consistent routine. Make sure your chickens have access to fresh water and high-quality chicken feed. You can also supplement their diet with kitchen scraps, like vegetable peels, leftover rice, and even bugs from your yard. However, avoid giving them anything that could harm them, like onions, garlic, or citrus.
Cleaning the Coop: Cleaning the chicken coop regularly is essential for keeping your flock healthy. Scoop out old bedding and replace it with fresh straw or wood shavings at least once a week. Deep cleaning the coop once a month, removing all bedding and scrubbing the surfaces, helps prevent the buildup of harmful bacteria and parasites.

Step 4: Collecting and Storing Eggs
Once your chickens reach about 18 weeks of age (depending on the breed), they’ll start laying eggs. Be sure to check the nesting boxes daily for eggs, and handle them gently to avoid cracks. Fresh eggs can be stored in the refrigerator for several weeks. If you have a surplus, consider preserving them by freezing them or giving them away to friends and family.
Egg Collection Tips:
- Collect eggs once or twice a day to ensure they’re fresh and clean.
- If eggs get dirty, wipe them gently with a dry cloth, but don’t wash them with water until you’re ready to use them. Washing eggs removes the protective coating and shortens their shelf life.
- If your chickens are laying more eggs than you can use, you can sell them locally or offer them as a barter item.
Step 5: Maintain Your Chicken Flock
As your chickens grow older, they’ll continue to lay eggs for several years, but egg production will typically slow down after their first few years. If you want to maintain a steady supply of eggs, you may need to add new chickens to your flock each year. Be sure to check your chickens regularly for signs of illness, like lethargy or a drop in egg production. Regular health checks, a clean environment, and proper nutrition will keep your chickens happy and productive.

Final Thoughts: Enjoying the Fruits of Your Labor
Raising chickens for eggs is one of the most rewarding parts of homesteading. Not only do you get the joy of collecting fresh eggs daily, but you also gain a deeper sense of self-sufficiency. With careful planning, a bit of effort, and a small budget, you can have a thriving chicken flock that supports your family’s needs.
Remember, raising chickens is a long-term commitment, but the benefits far outweigh the effort. By following these simple steps, you’ll be on your way to enjoying fresh, homegrown eggs while contributing to a more self-sufficient lifestyle.


