How to Make Your Own Canned Goods and Preserve Food
Homesteading isn’t just about growing your own food or raising animals—it’s about creating a self-sufficient lifestyle where you can live off the land, save money, and become less reliant on outside sources. One of the most rewarding (and practical) skills you can learn as a homesteader is canning foods. Whether you have a small garden or access to bulk produce, canning is an effective way to preserve food for the long term.
In this guide, we’ll walk you through the basics of making your own canned goods, how to safely preserve food, and how this simple practice can help you achieve greater self-sufficiency. The best part? Canning foods is a surprisingly affordable process, and once you get the hang of it, it becomes an incredibly useful skill to have in your homesteading toolkit.

Why Should You Can Your Own Food?
Before diving into the process, let’s first talk about why canning your own food is such a great idea, especially if you’re working toward self-sufficiency and a homesteading lifestyle.
1. Preserve Your Harvest: If you’ve spent time growing a garden, you know that there can be an abundance of produce at certain times of the year. Canning allows you to preserve your harvest for months or even years, making sure that your hard work doesn’t go to waste.
2. Save Money: By canning your own food, you can save money on groceries. You’re also able to buy produce in bulk when it’s in season, often at a much lower cost, and preserve it for use year-round.
3. Control Over Ingredients: When you can your own food, you control exactly what goes into it. Unlike store-bought canned goods that may include preservatives or artificial ingredients, homemade canned goods are pure, natural, and free from unnecessary additives.
4. Emergency Preparedness: Having a pantry stocked with canned goods can be a great way to prepare for emergencies, shortages, or unexpected events. If you lose power, your canned food will still be safe to eat.
Step 1: Gather Your Equipment
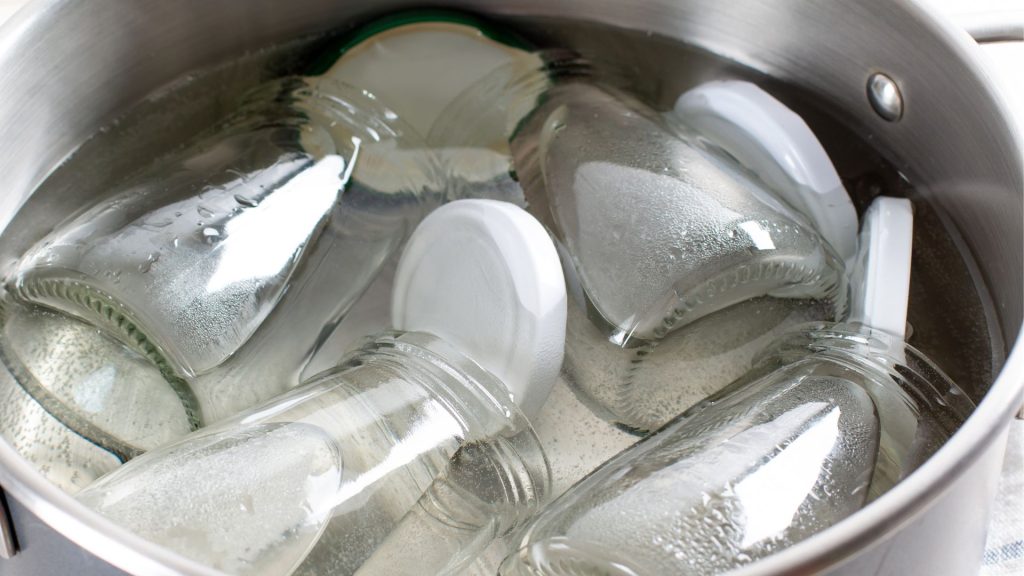
Before you start canning, you’ll need a few essential tools. Thankfully, you don’t need a lot of expensive equipment to get started. Here’s a list of what you’ll need to safely preserve your food:
- Canning Jars: Glass jars with tight-fitting lids are essential for canning. Make sure to choose jars designed for canning (such as Mason jars). These can be found at most home goods stores or online.
- Canning Lids and Rings: Canning lids come with a metal ring that holds the lid in place. These are essential for creating a vacuum seal that preserves the food.
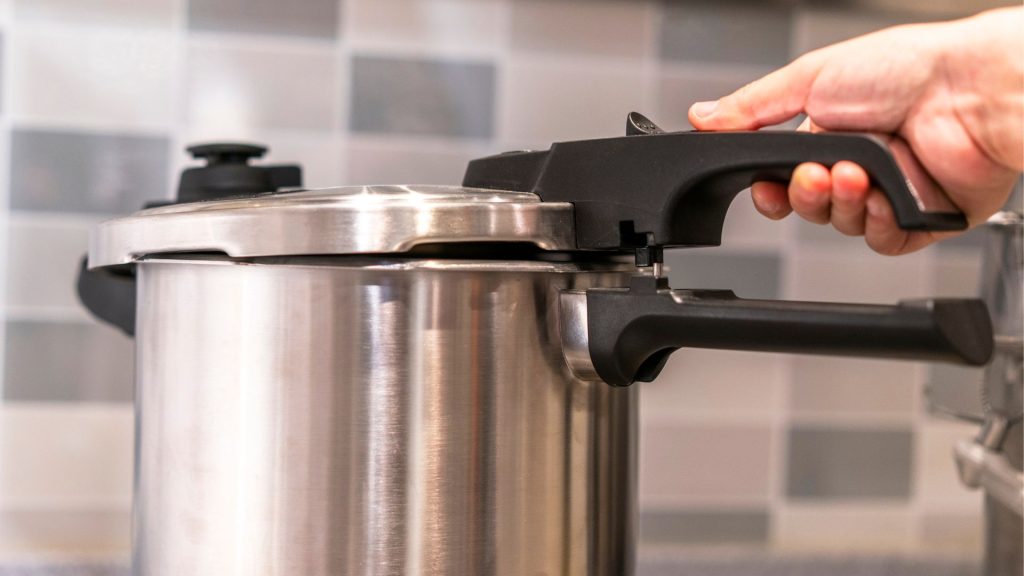
- Water Bath Canner or Pressure Canner: You’ll need either a water bath canner or a pressure canner to process your jars. A water bath canner is used for high-acid foods like fruits, jams, and pickles, while a pressure canner is required for low-acid foods like meats, vegetables, and soups.
- Jar Lifter: This tool helps you safely lift hot jars out of boiling water without burning yourself.
- Canning Funnel: A canning funnel helps you easily fill jars without spilling or contaminating the rim of the jar.
- Lid Lifter and Headspace Tool: These tools help you safely place the lids on jars and ensure you leave the correct amount of space at the top of the jar for expansion during processing.
Step 2: Prepare the Food
Once you have your equipment ready, it’s time to prepare the food. Depending on the type of food you’re canning, the steps will vary slightly. However, the basic principle of canning involves heating food to destroy bacteria and enzymes, then sealing it in jars to keep it safe and fresh.
For Vegetables and Meats:
- Clean and peel the vegetables, and chop them into uniform pieces.
- Blanch vegetables (a quick dip in boiling water) before canning to stop the enzymes that can cause spoilage.
- For meats, trim fat and bones, and cut into small pieces if necessary. Brown the meat in a pan if desired for added flavor.
- If you’re canning soups or stews, make sure all ingredients are fully cooked before filling your jars.
For Fruits:
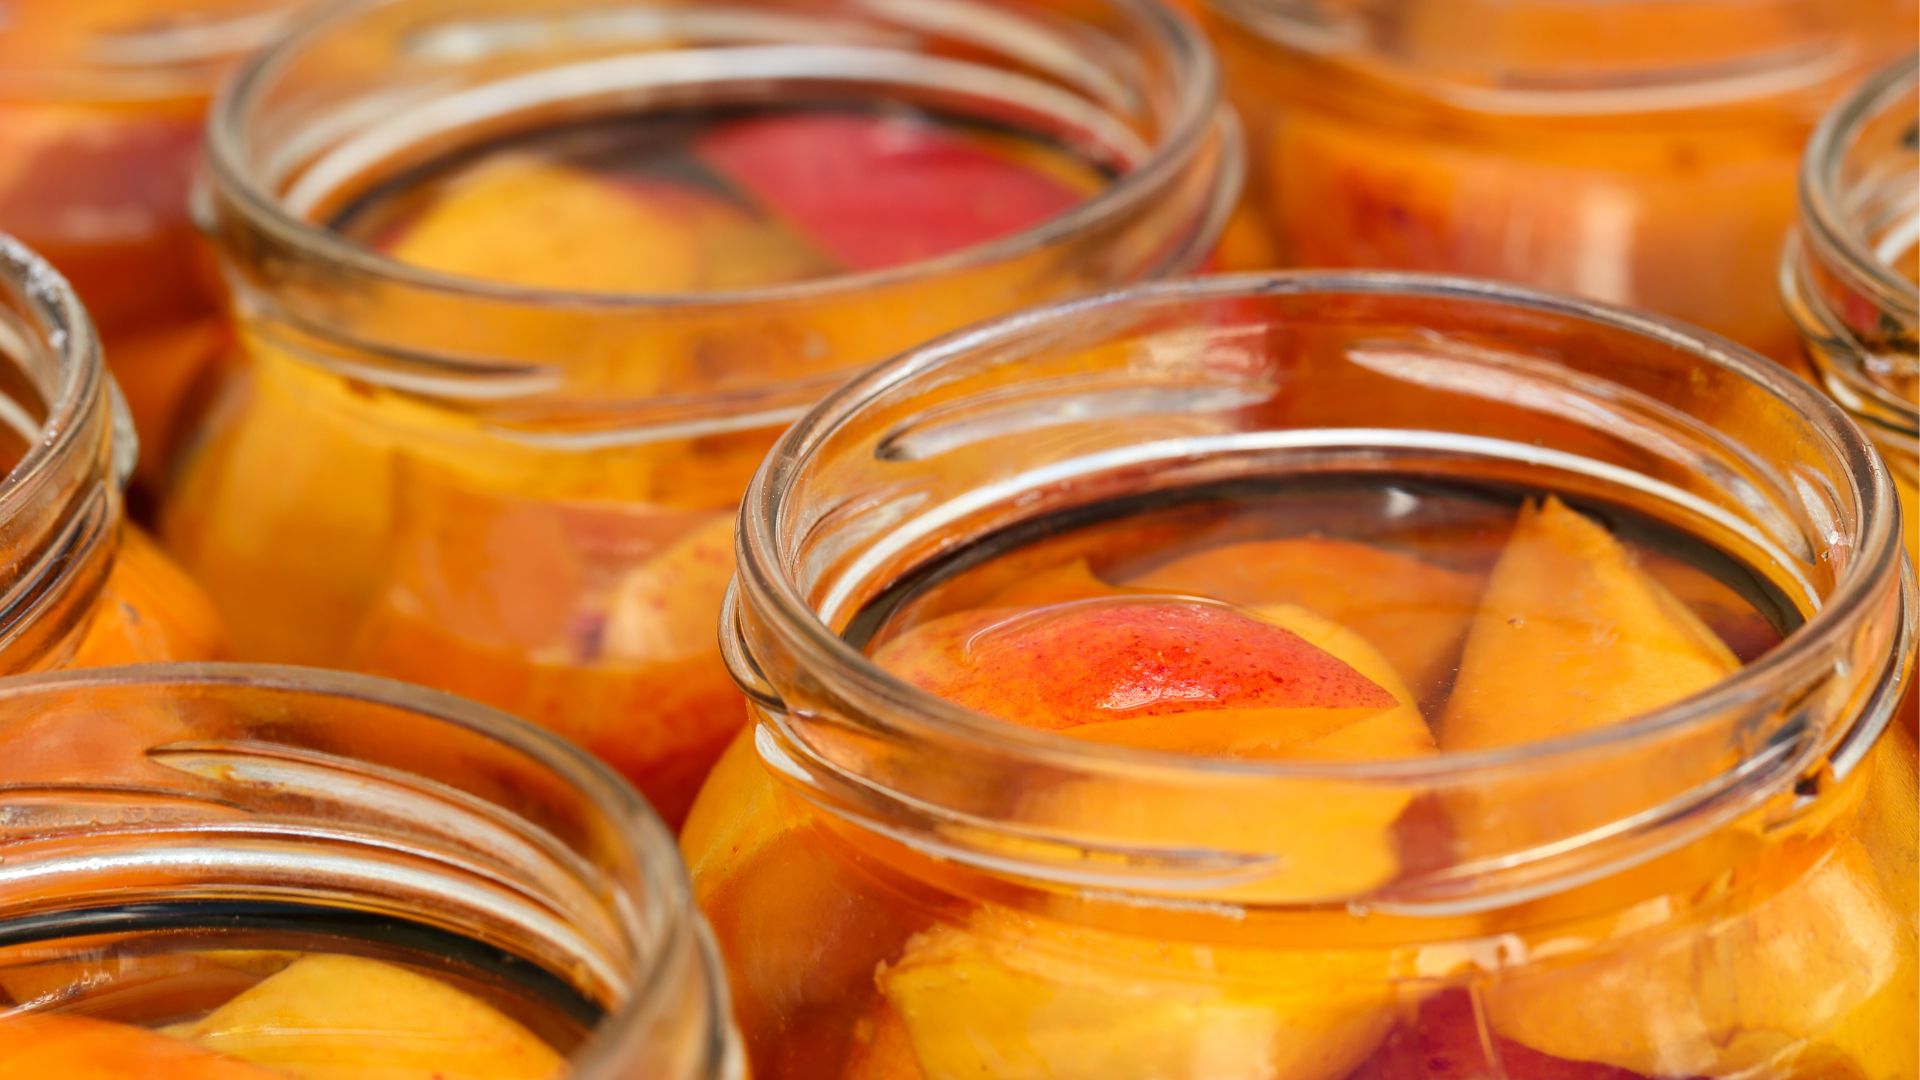
- Wash and peel fruit as needed (for example, peaches or tomatoes).
- Cut fruit into the desired size. If you’re canning apples or pears, you might want to dip them in a mixture of water and lemon juice to prevent browning.
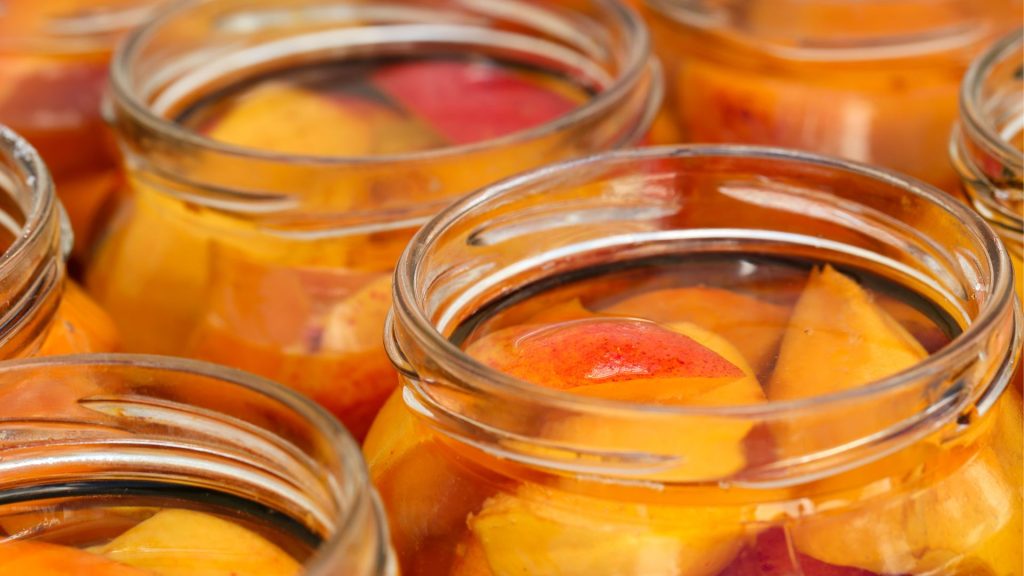
- You can choose to can fruits in syrup (a mixture of sugar and water) or just pack them in their own juice, depending on your preference.
For Jams, Jellies, and Sauces:
- Prepare your fruit by washing and cutting it.
- Mash, puree, or cook down fruit to create a jam or jelly.
- Use pectin (a natural thickener) if necessary to help your jam or jelly set properly.

Step 3: Fill the Jars
Once your food is prepped, it’s time to fill the jars. This step can be a bit tricky, but with the right technique, it’s straightforward.
- Use your canning funnel to fill jars with food. Leave about 1 inch of headspace at the top of the jar to allow for expansion during processing.
- Make sure the rims of the jars are clean and free of food particles. Wipe the rims with a clean cloth to ensure a proper seal.
- Place a clean lid on top of the jar and screw the ring on tightly, but not too tight. The ring should be snug enough to hold the lid in place but not so tight that it prevents air from escaping during the canning process.
Step 4: Process the Jars
Processing is the step where the food is heat-sealed inside the jars, which is what preserves it for long-term storage. The method of processing depends on the food you’re canning.
Water Bath Canning (for high-acid foods like fruit, jams, and pickles):
- Fill the canner with enough water to cover the jars by about an inch.
- Bring the water to a boil, then carefully lower the filled jars into the water using the jar lifter.
- Boil the jars for the required time. Typically, this is 10 to 20 minutes, depending on the food.
- Once the time is up, carefully remove the jars from the canner and set them aside to cool.
Pressure Canning (for low-acid foods like vegetables, meats, and poultry):
- Place the filled jars into a pressure canner.
- Follow the manufacturer’s instructions to bring the canner to the right pressure (measured in pounds per square inch, or PSI) and maintain that pressure for the recommended time, typically 20 to 90 minutes depending on the food.
- Once the time is up, allow the pressure to drop naturally before opening the canner.
- Remove the jars carefully and let them cool.
Step 5: Let the Jars Cool and Store Them
After processing, your jars should be left to cool for 12-24 hours. During this time, you’ll hear a “pop” sound as the lids seal, which is a good sign that your jars have been properly sealed. Once cooled, check the lids to make sure they’re sealed by pressing down in the center. If the lid pops back, the jar isn’t sealed and should be refrigerated and eaten soon.
Store your canned goods in a cool, dark, and dry place. A pantry, cupboard, or cellar works best. Properly canned goods can last for up to a year or more, depending on the type of food.
Step 6: Enjoy Your Preserved Foods
Once you’ve successfully canned your foods, you can enjoy them all year round. Canning is a fantastic way to make use of seasonal produce, and it’s a rewarding feeling to open a jar of your own homemade preserves. Whether you’re using your canned vegetables in soups, cooking up your homemade jams on toast, or adding your preserved fruits to pies, you’ll find that your efforts have paid off.
Achieving Self-Sufficiency Through Canning
Canning your own food is an essential skill for any homesteader looking to achieve self-sufficiency. It allows you to preserve the abundance of your harvest, save money, and enjoy delicious, healthy food all year long. With a little practice, you’ll find that canning isn’t difficult—and the benefits far outweigh the effort.
Starting with simple recipes, like jams or pickles, and gradually working your way up to more complex canning projects will help you build confidence and experience. The more you can your own food, the more you’ll feel empowered to live a self-sufficient life and reduce your reliance on store-bought products.