How to Turn Your Favorite Fruits into Homemade Jam and Jelly
There’s something undeniably satisfying about making your own homemade jams and jellies. Not only does it allow you to enjoy the delicious flavors of your favorite fruits all year long, but it also helps you connect with traditional methods of preserving food. Whether you’re harvesting your own fruit or buying from a local farmer’s market, homemade jam and jelly are a great way to enjoy the fruits of your labor. In this post, we’ll walk you through the process of making, canning, and storing homemade jam and jellies, and even share some top-rated Amazon products that can help you along the way.
Why Make Homemade Jam and Jelly?
Making your own jam and jelly is an incredibly rewarding activity. It’s a fun way to preserve fresh, seasonal fruits, and the best part is that you can control the ingredients. By making your own jams, you can reduce or eliminate the use of preservatives and high amounts of sugar that are often found in store-bought versions. Additionally, homemade jams and jellies are perfect for gifting or using in a variety of recipes—such as spreads, glazes, and fillings.
What’s the Difference Between Jam and Jelly?
Before you start cooking, it’s essential to understand the difference between jam and jelly. While both are made from fruit, sugar, and pectin, their textures differ:
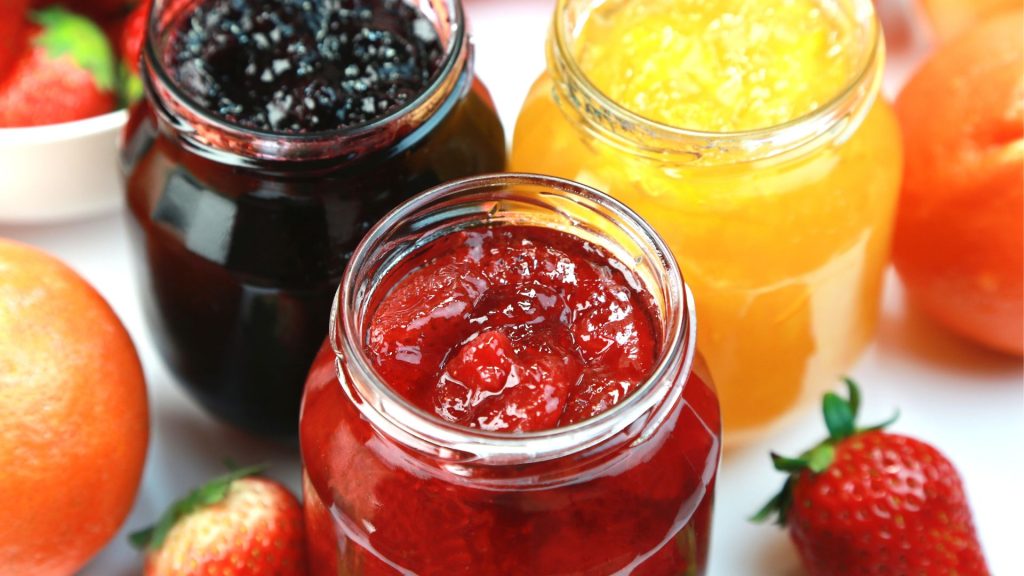
- Jam: Jam is made from crushed or chopped fruit and has a thicker consistency with visible fruit pieces.
- Jelly: Jelly, on the other hand, is made from fruit juice and is smooth and clear with no pieces of fruit.
Basic Ingredients for Homemade Jam and Jelly
The basic ingredients for both jam and jelly are fairly simple and include:
- Fruit: You can use fresh, frozen, or even overripe fruit. Popular options include strawberries, blueberries, raspberries, peaches, and grapes.
- Sugar: Sugar is essential for sweetness and helps with preservation. Most recipes call for equal parts sugar and fruit, but you can adjust this depending on your preferred sweetness level.
- Pectin: Pectin is a natural substance found in fruits that helps the jam or jelly set. You can buy powdered or liquid pectin at most grocery stores, and sometimes recipes call for it to be added, while others rely on the natural pectin in the fruit.
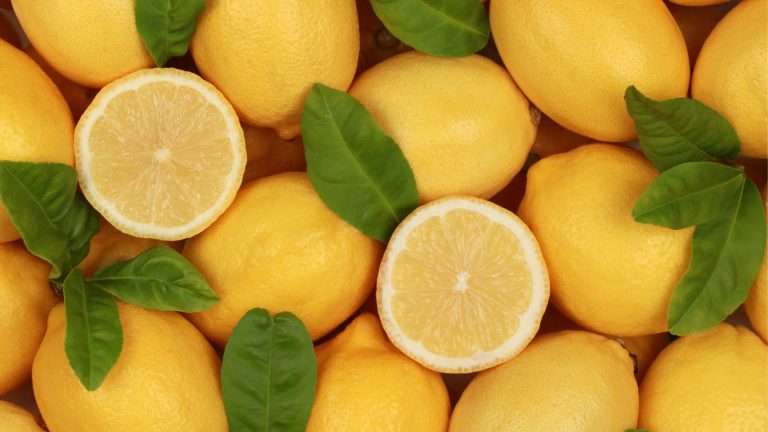
- Lemon Juice: This helps with the setting process and adds a zesty brightness to the flavor of your jam or jelly.
Making Homemade Jam
Making jam involves cooking fruit and sugar until it thickens to a spreadable consistency. Here’s a step-by-step guide on how to make jam at home.

Step 1: Prepare the Fruit
Wash and prepare your fruit by removing stems, pits, and any blemishes. For jam, chop the fruit into small pieces or mash it depending on your preference. For smoother jam, mash the fruit thoroughly; for chunkier jam, leave the fruit in larger pieces.
Step 2: Cook the Fruit and Sugar
In a large saucepan, combine the fruit and sugar. Stir occasionally to ensure the sugar dissolves. Cook over medium heat until the fruit breaks down and releases its juices. Bring the mixture to a boil and continue to cook until it reaches the desired consistency. To test the jam, place a spoonful on a chilled plate, then tilt the plate. If the jam wrinkles and doesn’t run, it’s ready to be canned.

Step 3: Add Pectin and Lemon Juice
Once the jam is nearly done, add pectin and lemon juice according to the recipe you’re following. Stir to combine and bring the jam back to a boil for another 1–2 minutes to activate the pectin.
Step 4: Canning the Jam
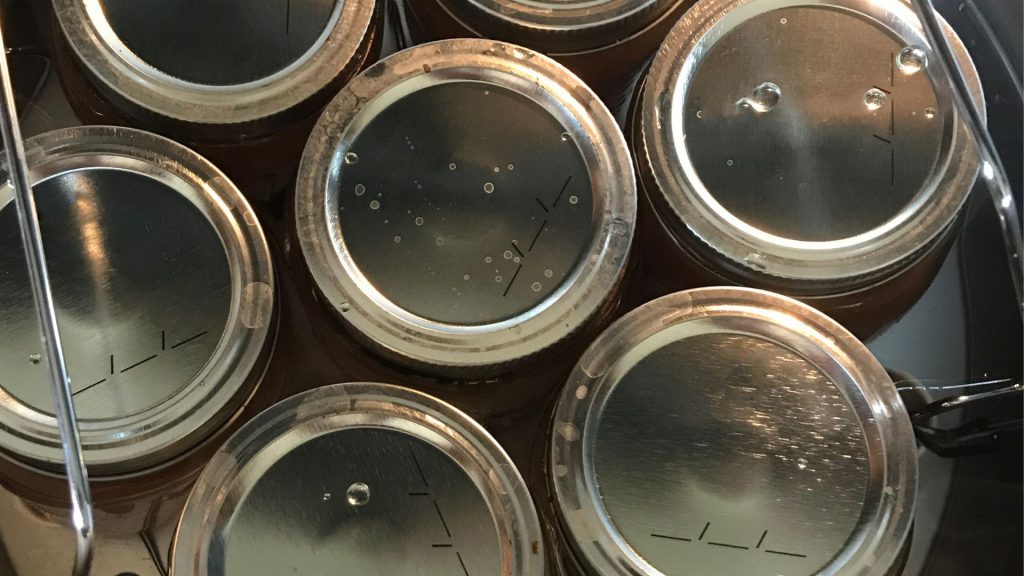
Once the jam has reached the right consistency, pour it into sterilized jars while it’s still hot. Leave about a half-inch of space at the top of the jar. Wipe the rims of the jars with a clean towel to ensure no sticky residue is left that might interfere with sealing. Place sterilized lids on the jars and screw on the bands just until they are finger-tight.
Step 5: Water Bath Canning
To preserve the jam, process the jars in a water bath canner for about 10-15 minutes. The jars should be fully submerged in boiling water. After processing, remove the jars and let them cool completely. You should hear a “pop” sound as the jars seal, indicating that they’re preserved. If any jars don’t seal, store them in the refrigerator and use them first.
Making Homemade Jelly
Making jelly follows a similar process, but instead of using whole fruit, you’ll use fruit juice. Follow these simple steps:
Step 1: Prepare the Juice
Choose fruit that has a high pectin content, such as apples, grapes, or blackberries. Wash and chop the fruit, then simmer it in water for about 30 minutes until it becomes mushy. Strain the juice through a fine mesh strainer or cheesecloth to extract clear juice, making sure to get as much liquid as possible.
Step 2: Cook the Jelly
In a saucepan, combine the fruit juice, sugar, and lemon juice. Bring to a boil, stirring constantly until the sugar dissolves. Add the pectin (according to the recipe) and bring the mixture to a rapid boil. Keep boiling for about 1–2 minutes.

Step 3: Test the Jelly
To test for the jelly’s setting point, use the same chilled plate method as you would for jam. If it wrinkles and holds its shape, it’s time to remove from the heat.
Step 4: Canning the Jelly
Pour the hot jelly into sterilized jars, leaving about a half-inch of space at the top. Wipe the rims, add the lids, and process in a water bath canner for 5–10 minutes.

Storing Your Homemade Jam and Jelly
Once your jars are sealed and cooled, store them in a cool, dark place such as a pantry. Homemade jam and jelly can last for about 6 months to a year when stored properly. Be sure to check your jars for any signs of spoilage, like bulging lids or an off smell. If you notice any of these signs, discard the jar.
Handy Products to Help You Make and Store Homemade Jam and Jelly
If you’re ready to get started, here are some top-rated Amazon products that will help you make and store your homemade jam and jelly:
- Ball 12-Piece Canning Set
Includes essential tools for canning, such as a jar lifter, funnel, and tongs.
Check it out on Amazon! - Sure-Jell Pectin for Homemade Jam & Jelly
A must-have for setting the perfect consistency in your jams and jellies.
Check it out on Amazon! - Presto 01781 23-Quart Pressure Canner and Cooker
Great for canning larger batches of jam or jelly.
Check it out on Amazon! - Canning Jar Lids & Bands
Reusable lids and bands for your jars. Perfect for preserving your jams and jellies.
Check it out on Amazon! - KitchenAid Stand Mixer
Useful for quickly chopping or mashing fruit when making large batches of jam.
Check it out on Amazon! - Zyliss Smooth Manual Food Mill
A handy tool for making smooth jams and jellies by pureeing fruits.
Check it out on Amazon! - Anchor Hocking 4-Piece Canning Jar Set
Store your homemade jam in these high-quality glass jars.
Check it out on Amazon! - Stainless Steel Canning Funnel
A must-have tool for pouring jam or jelly into jars without spilling.
Check it out on Amazon! - Ball Mason Jars
Classic mason jars perfect for canning and storing your homemade jam and jelly.
Check it out on Amazon! - Lemon Juicer for Canning
Fresh lemon juice adds flavor and helps with setting. A hand juicer makes the process easier.
Check it out on Amazon!
My Sunny Thoughts
Making homemade jam and jelly is a fun and rewarding way to preserve the flavors of your favorite fruits. With the right ingredients, tools, and a little patience, you can create delicious spreads to enjoy all year long. If you’ve never tried canning before, it’s easy to get started, and soon you’ll be making jams, jellies, and preserves to share with family and friends.
Now it’s your turn—what’s your favorite fruit to use for jam or jelly? Have you ever tried canning before? Share your thoughts and experiences in the comments below!