DIY Hummingbird Nectar: The Ultimate Guide to Attracting Hummingbirds to Your Garden
Hummingbirds are some of the most delightful and mesmerizing creatures to have in your garden. Their vibrant colors, rapid wing beats, and playful nature bring joy to any outdoor space. If you want to attract these tiny wonders to your yard, providing them with a consistent and reliable food source is key. While there are plenty of store-bought nectar solutions available, making your own hummingbird food at home is easy, cost-effective, and even healthier for the birds. In this guide, we’ll walk you through how to make your own hummingbird food, including everything you need to know about the ingredients, proper feeding techniques, and tips to create an ideal environment for these fascinating little creatures.

Why Make Your Own Hummingbird Food?
Before we dive into the specifics of how to make your own hummingbird food, let’s talk about why it’s a great idea in the first place.
- Control Over Ingredients: Store-bought hummingbird food often contains artificial coloring, preservatives, or other unnecessary additives that are not ideal for the birds. When you make your own food, you can ensure it’s made with pure, natural ingredients—just the way hummingbirds like it.
- Cost-Effective: Making your own hummingbird nectar can be far more economical than buying pre-made solutions, especially if you have a lot of feeders and want to keep them filled throughout the season.
- Attract More Hummingbirds: Hummingbirds are incredibly attracted to clean, fresh nectar, and they can sense when food has gone stale. By making your own nectar and changing it regularly, you’ll be able to provide a high-quality, consistent food source for them, encouraging more visits.
Now, let’s get into the specifics of how to create the best hummingbird food for your feathered friends.
What You’ll Need to Make Hummingbird Food
Making hummingbird nectar is quite simple. Here’s what you’ll need:
Ingredients:
- Granulated white sugar (not powdered sugar or honey): White sugar mimics the natural sugars found in flower nectar, which is what hummingbirds are designed to consume.
- Water: It’s best to use filtered or distilled water if possible to avoid any harmful chemicals that might be present in tap water.
- Optional: Some people like to add a tiny pinch of salt, although this is not essential. Salt is sometimes added to prevent mold growth, but it’s not necessary if you plan to change the nectar regularly.
Equipment:
- Saucepan (if you’re boiling the mixture)
- Measuring cups and spoons
- Mixing spoon
- Clean container or jar for storing the nectar
- Feeder for hanging the nectar outside
How to Make Hummingbird Food: Step-by-Step
Step 1: Measure the Ingredients
The ideal ratio of sugar to water for hummingbird nectar is 1:4. This means you should mix 1 part sugar to 4 parts water. For example, you can mix:
- 1 cup sugar with 4 cups water
Or if you need to make a smaller batch:
- 1/2 cup sugar with 2 cups water
The ratio is important because it closely resembles the sugar content found in natural flower nectar.
Step 2: Boil the Water
While some people may choose to simply mix the sugar with cold water, boiling the water before adding the sugar helps dissolve the sugar completely and ensures that it’s properly mixed. Boiling also helps eliminate any bacteria or impurities that might be present in the water.
To do this, bring the water to a boil in a saucepan. Once it starts boiling, remove the water from the heat.
Step 3: Mix in the Sugar
After the water is boiling, add the sugar into the saucepan and stir it well until the sugar is fully dissolved. This process should only take a few minutes. Be sure the sugar is completely dissolved to prevent any leftover sugar granules from being left behind, as they can attract unwanted pests.
Step 4: Cool the Mixture
Once the sugar has dissolved completely, allow the mixture to cool to room temperature. This is important—never place hot nectar into your hummingbird feeder as it can harm the birds.
If you’re in a hurry, you can place the mixture in the refrigerator for a faster cooling process. But make sure it has fully cooled before filling your feeder.
Step 5: Fill Your Feeder
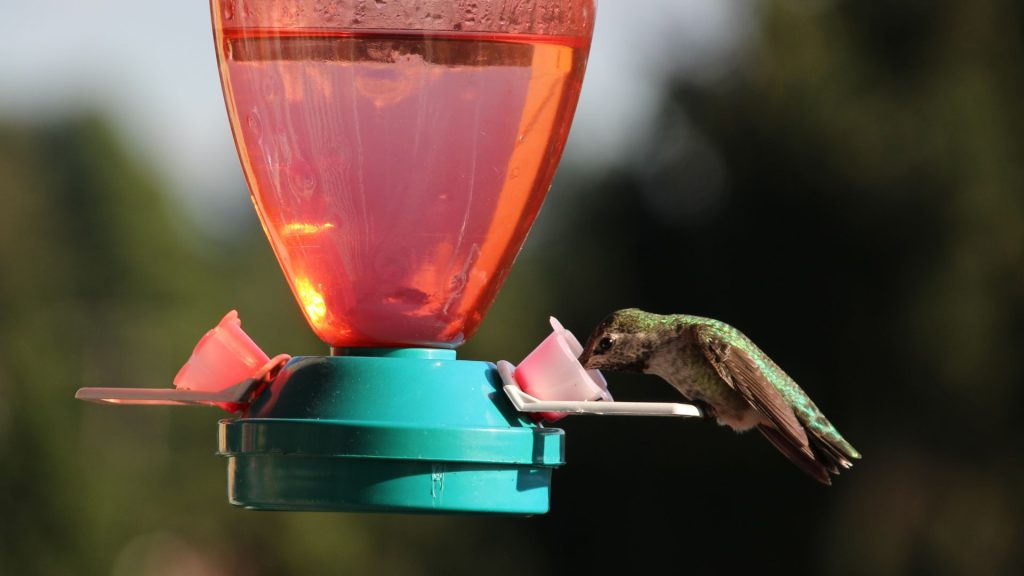
Once your nectar has cooled, pour it into your hummingbird feeder. Be sure to fill the feeder according to the manufacturer’s instructions, leaving enough space for the birds to feed comfortably.
How Often Should You Change Hummingbird Food?
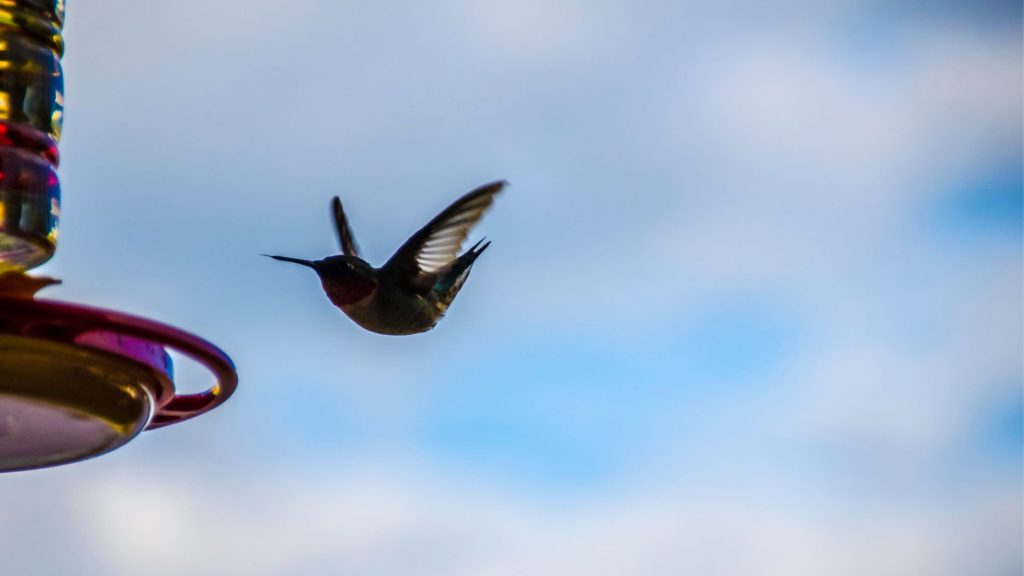
Hummingbirds love fresh nectar, and it’s important to change the food in your feeders regularly to ensure it stays clean and safe for the birds.
Here are a few general guidelines:
- Hot Weather: In the warmer months, nectar can spoil more quickly due to mold growth or fermentation. Change the nectar every 2–3 days, especially if the temperature is above 85°F (29°C).
- Cooler Weather: In cooler temperatures, nectar will last longer, so changing it once a week is usually sufficient.
- Clean Your Feeder Regularly: It’s essential to clean your hummingbird feeder thoroughly with hot water every time you refill it. Use a bottle brush to clean all the nooks and crannies of the feeder, and avoid using any soap or chemicals, as these can be harmful to the birds.
What Not to Use in Hummingbird Food
While it might be tempting to get creative, there are a few ingredients you should never use in hummingbird nectar:
- Honey: Honey can ferment quickly, leading to mold growth that is harmful to hummingbirds. Always stick to white granulated sugar.
- Artificial Sweeteners: Sweeteners like stevia, aspartame, and other sugar substitutes are not safe for hummingbirds. Stick to natural sugar sources.
- Red Food Coloring: Many commercial nectar brands contain red food coloring, but this is not necessary. Hummingbirds are attracted to the color red naturally, so adding coloring to your homemade nectar isn’t needed and may even be harmful.
Extra Tips for Attracting Hummingbirds
Now that you know how to make your own hummingbird food, here are a few additional tips to make your garden even more appealing to these amazing creatures:
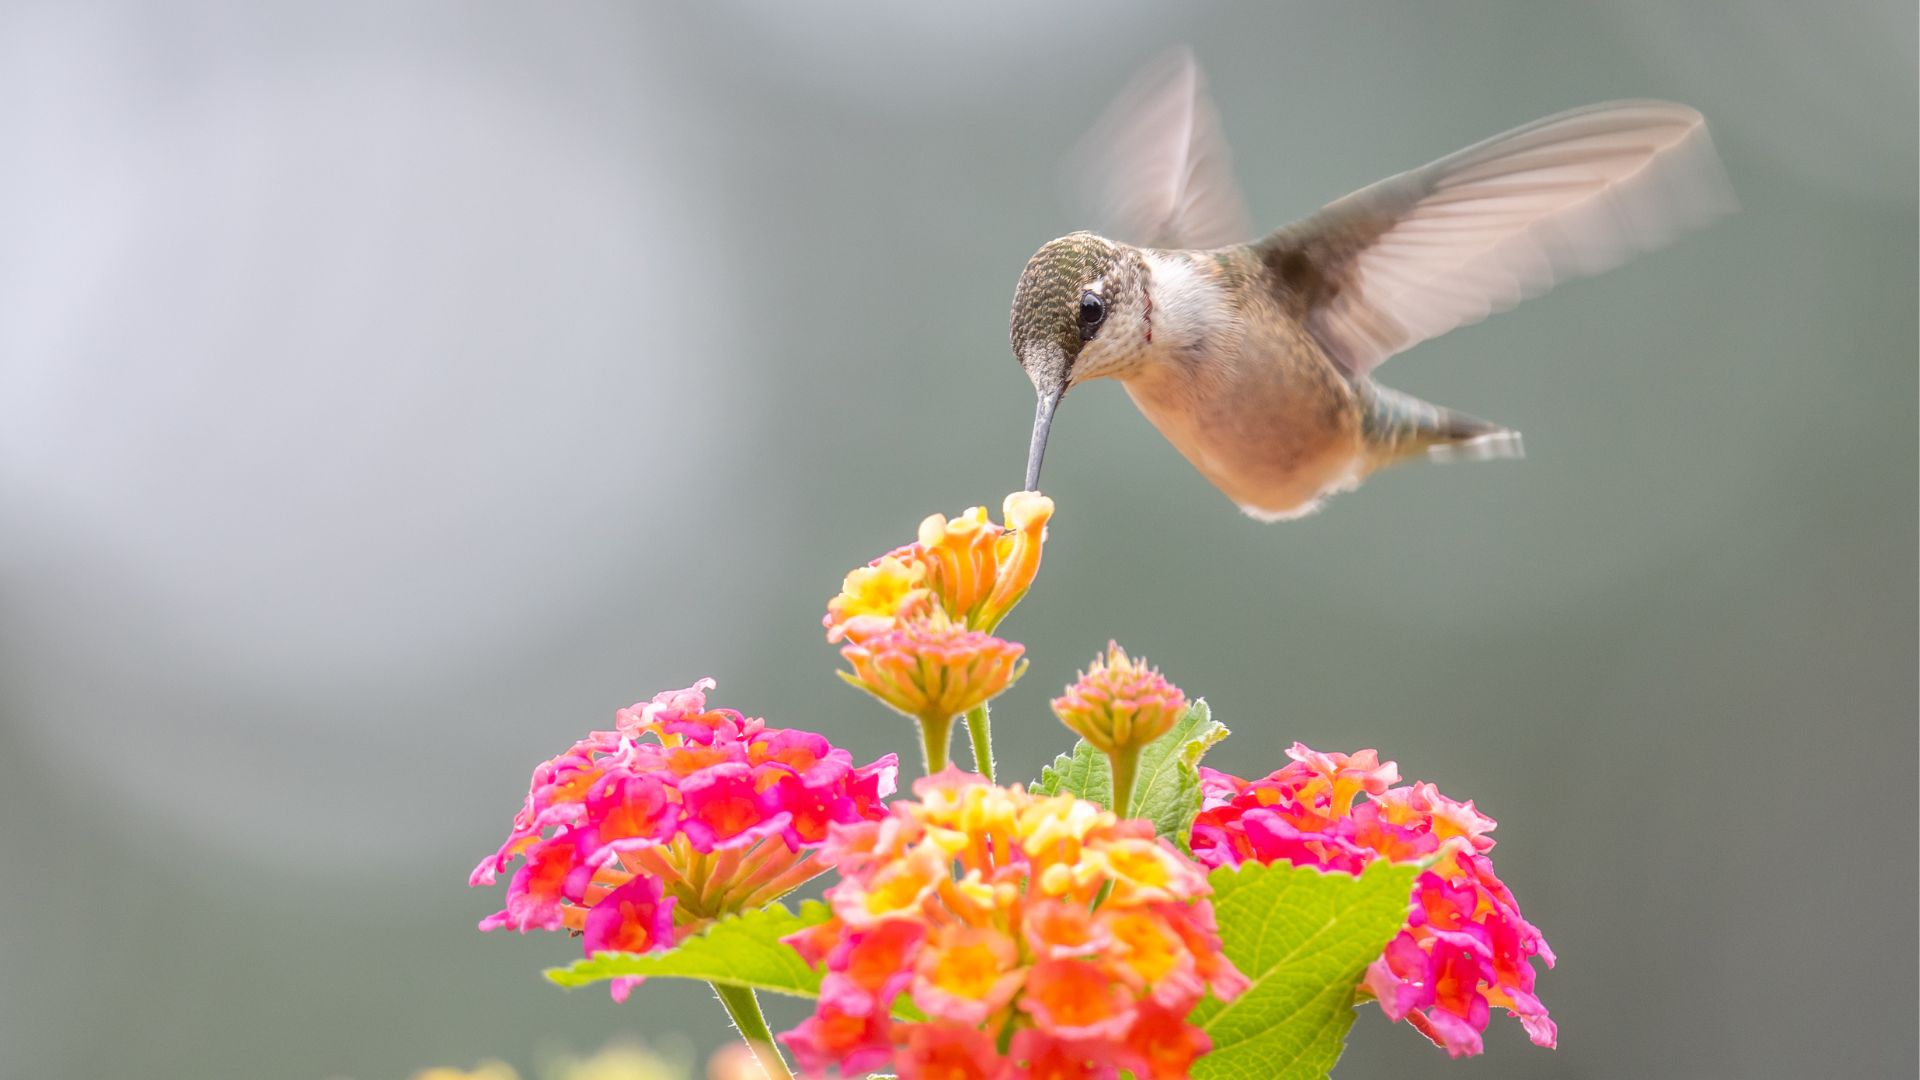
- Plant Nectar-Rich Flowers: Fill your garden with nectar-rich flowers that naturally attract hummingbirds. Some of their favorites include trumpet vines, bee balm, columbine, and salvias.
- Add Red to Your Feeders: While you don’t need food coloring in the nectar, hummingbirds are naturally drawn to the color red. Choose red or orange-colored feeders to attract them.
- Provide Fresh Water: Hummingbirds need fresh water not only for drinking but also for bathing. A shallow birdbath or a water mister can be a welcome addition to your garden.
- Keep Feeders in a Quiet Location: Hummingbirds are easily startled, so place your feeders in a quiet area of your garden where they can feed undisturbed. Avoid placing them in direct sunlight, as this can cause the nectar to spoil faster.
- Offer Multiple Feeders: If you have a large number of hummingbirds visiting your garden, consider placing several feeders around your yard. This will help reduce competition and ensure that all the birds have easy access to food.
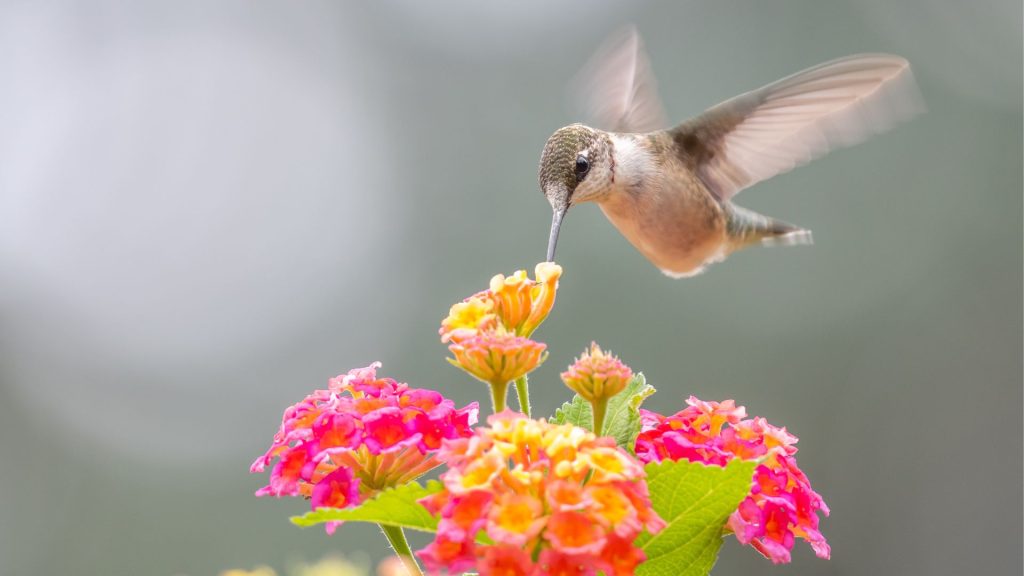
Creating your own hummingbird food is an incredibly rewarding and simple way to attract these beautiful creatures to your garden. By providing a steady, fresh nectar supply, you’ll not only be helping the hummingbirds but also enjoying their fascinating visits up close. With just a few ingredients, a little time, and some dedication to cleanliness, you can ensure that your hummingbird feeders are a hit all season long.
So, what are you waiting for? Whip up some homemade hummingbird nectar and watch these tiny, dazzling creatures flit around your garden, filling it with life and wonder!